Every project, big or small, requires planning. So, whether you are talking about filmmaking, engineering design, or medical research, you need to have a framework in place. This clear structure or roadmap tells you how you want to proceed toward your project goals.
It is no different with eLearning courses. Online course creators should use a standard layout or eLearning storyboard in the pre-production stage, which serves as a guide to building the best online courses.
In this blog post, I’ll be presenting the key elements and the industry-best practices for creating a storyboard for eLearning. Plus, you’ll find an example and some free templates.
What Is an eLearning Storyboard?
Taking an online course is like watching a movie. Media, flash content, graphics, text, images, and videos are dispersed throughout the course. Each scene connects to the other to tell a compelling story.
A storyboard enables instructional designers, subject-matter experts, graphic designers, clients, and all stakeholders to view the content, media, and interactions before the actual development.
It is a visual document that outlines every element of an eLearning course, much like a blueprint for a building or a script for a movie. It contains the detailed structure and flow of a course, including text, images, interactive elements, audio and video scripts, animations, and quizzes.
In other words, a storyboard is a training template, model, or wireframe that describes every screen in a course, including what the learners will see, do, and hear.
Storyboarding is an idea landscape that fosters creativity, improves communication, and finds practical solutions.
This framework enables you to change, edit, or update and approve the plan before the course takes its final shape. It also ensures accelerated eLearning development.
Key Elements of an Effective eLearning Storyboard
A storyboard for eLearning is made up of several key components. They are:
- Course Title & Description: Provides an overview of the course’s objectives and content.
- Screen Text: The text that will appear on each slide or screen.
- Visual Elements: Descriptions or actual images of the graphics, charts, or any visual aids that will be used.
- Narration or Audio Script: The script for any voice-over narration, including instructions or explanations that will accompany the visuals.
- Interactivity Descriptions: Detailed explanations of how interactive elements will work, such as quizzes, drag-and-drop activities, or clickable hotspots.
- Navigation Instructions: How learners will navigate through the course, including the functionality of buttons like “next,” “back,” or any branching scenarios.
- Feedback for Assessments: Specific feedback provided for correct or incorrect answers in quizzes or activities.
- Technical Specifications: Any technical requirements or specifications needed to ensure the course runs smoothly on various platforms and devices.
These elements help you visualize the course structure and communicate it to your team members more effectively. This will ensure alignment with learning objectives and facilitate revisions before the actual production begins. The process ultimately leads to a more organized and coherent eLearning course.
eLearning Storyboard Example
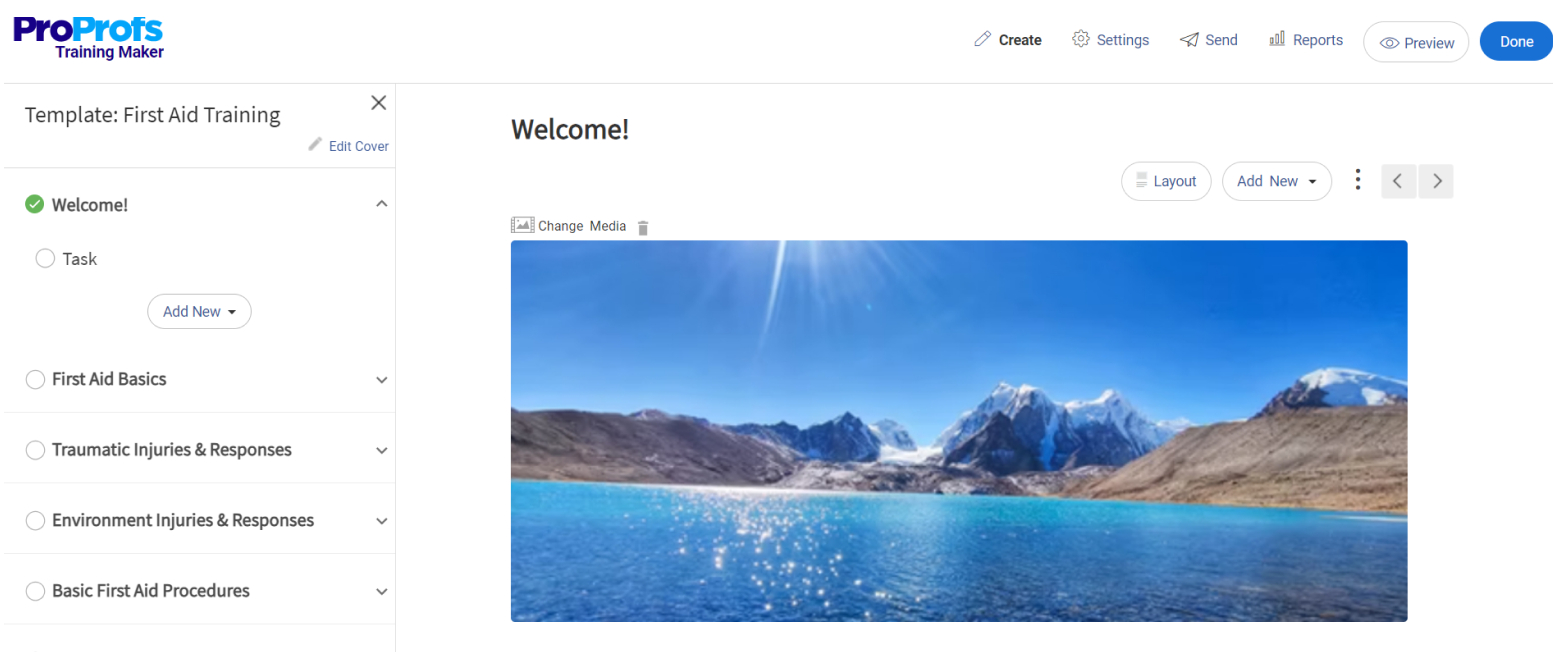
Creating a detailed eLearning storyboard involves outlining various elements that will go into an online course. Here’s one of the simplest storyboard examples of what it might look like for a single slide or screen in a course on “Basic First Aid Techniques.”
This example includes common components found in eLearning storyboards, such as the screen number, text content, audio script, visual elements, and interactions.
Course Title: Basic First Aid Techniques
Screen Number: 3
Screen Title: How to Perform CPR
Objective: Teach learners the basic steps of performing CPR on adults.
Text Content on Screen:
- Step 1: Check for responsiveness.
- Step 2: Call for emergency services.
- Step 3: Open the airway.
- Step 4: Check for breathing.
- Step 5: Perform chest compressions and rescue breaths.
Audio Script:
“Welcome to the CPR section. If you encounter someone who is unconscious, it is crucial to act quickly. First, check if the person responds when you tap their shoulder and shout, ‘Are you okay?’ If there is no response, immediately call for emergency services. Next, you will need to open the person’s airway by tilting their head back slightly. Then, check for breathing. If the person isn’t breathing or only gasping, start CPR. Place the heel of your hand on the center of the chest, put your other hand on top, and press down hard and fast, about 2 inches deep. After 30 compressions, give 2 rescue breaths and continue the cycle. Let’s go through each step in detail.”
Visual Elements:
- An illustrative diagram showing the hand placement for chest compressions.
- Icons or buttons to play short video clips demonstrating each step (optional).
- Infographic summarizing the CPR steps.
Interactivity Descriptions:
- Interactive buttons to navigate through the CPR steps individually.
- A short quiz at the end of the section to assess understanding of the CPR process.
- A “Show Me How” button that plays a video demonstration of performing CPR.
Navigation Instructions:
- “Next” button to proceed to the next section on treating minor injuries.
- “Back” button to review the previous content on assessing an emergency situation.
Feedback for Assessments:
- Correct answers in the quiz lead to a message: “Great job! You’ve grasped the CPR steps.”
- Incorrect answers provide specific feedback: “Remember, chest compressions should be deep and fast. Try reviewing the steps again.”
Technical Specifications:
- Ensure videos are optimized for web and mobile platforms.
- Interactive elements should be accessible and keyboard navigable.
This example gives you a basic idea of how an eLearning storyboard organizes the content and interactive elements of a course. It serves as a guide for the development team to design and assemble the eLearning course.
Remember, the level of detail in a storyboard can vary depending on the complexity of the course and the preferences of the development team.
Get Free eLearning Authoring Software — All Features, Forever.
We've helped 567 companies train 200,000+ employees. Create courses in under a minute with our AI LMS or use 200+ ready-made courses on compliance, harassment, DEI, onboarding, and more!
How to Create a Storyboard for eLearning
In developing eLearning courses, many instructional designers and course developers rely on what is called the ADDIE Model. This model provides a step-by-step process for planning and creating online training courses. It consists of five components:
1. Analysis
Before you start creating a storyboard for your eLearning course, you should do a thorough training needs analysis. This will enable you to determine the objectives for your eLearning course, the areas you need to focus on, and the type of learners who need to attend the training.
So, before anything else, find out your target audience, their skill level, and their learning needs. This will guide how you develop your eLearning course storyboard.
2. Design
This is the phase where real course development begins. Based on your analysis of the training needs in the previous step, you now start to give some preliminary structure to your eLearning course.
This is when you come up with a logical blueprint or prototype of the course. The selection of the type of content and media for each course module is one aspect of this step. Here you are systematically deploying the learning materials available to you.
Many online course builder software tools offer this functionality and allow users to gather different design elements for development. From your logo to fonts, color schemes, and branding, everything occurs during this time.
3. Development
After the design document is created, it is time to develop the storyboard for the course. At this stage, you put together the different course elements you created during the design phase.
With the core of your online course already decided, all you need to do now is just add all the necessary details and present the course in a polished manner.
An effective storyboard contains project and slide information, audio instructions, graphics, video instructions, on-screen texts, navigation instructions, and interactivity instructions.
During the iterative development phase, make sure to utilize a grammar checker to ensure proper spelling, grammar, and syntax. Additionally, assess the clarity, accuracy, navigation, utility, flow, and engagement of the course. And of course, flow and engagement level as well.
Don’t let avoidable oversight in course design spoil the learner experience later on.
4. Implementation
Once the design and testing of the course are over and you’re satisfied with them, it is time to put it to work. You may now share the course with your trainers/facilitators and learners.
But just before that, it is considered a good practice to put both trainers and learners to quick familiarization training. During this time, they will learn some of the key things such as:
- user registration
- course curriculum
- delivery method
- assessment process
- technology to be used
You can share the course in several ways – via emails, as an embedded link on your website, or on social media. Still, the best way is to upload it to a learning management system (LMS). This is because most LMS platforms come with virtual classroom software, and you can easily manage learning in a centralized and secure way.
Just to make sure, implement your eLearning course initially on a trial basis. Just like in a test screening of movies, let a selected group of people preview it before you finally unveil it to the entire team. This will enable you to gauge their reaction.
5. Evaluation
Implementation of a course is not the end of the story; there’s a follow-up to it.
Every online training program should be practical and sustainable. Evaluation of your course post-implementation is the only way to know its real merit or worth.
For this, you can leverage online survey tools to gather feedback from course participants. You can add survey forms to the course itself. This way, you get to know how the course performed, what you missed, and what you did well. Depending on the feedback, you can improve your course for better learning outcomes.
These five stages of storyboarding provide a roadmap for the entire training development process. For the purposes of this article, we will focus mostly on the development stage where storyboarding becomes most relevant.
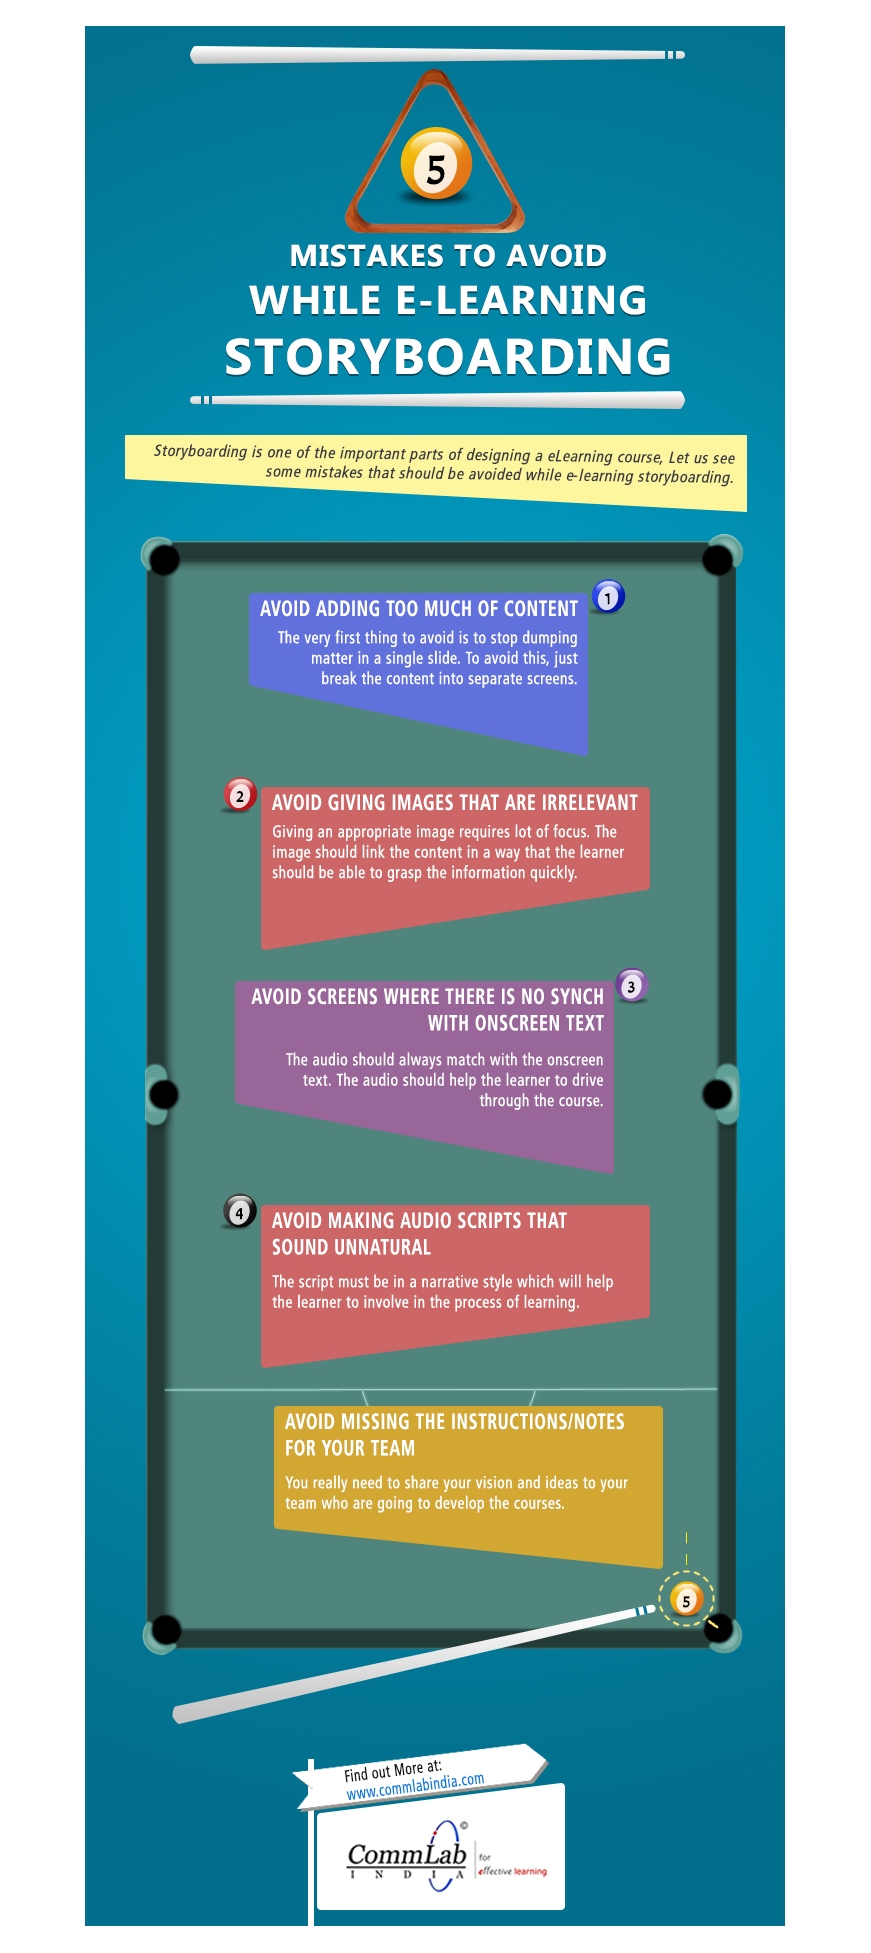
Source: CommLab India
Here are a few other things to consider while developing impactful storyboards:
- Make sure your storyboard is geared toward your subject-matter experts and clients and that it reflects the eLearning objectives agreed on in the initial design stage.
- The storyboard should make the eLearning come alive when the client reads through it and should reflect key concerns and questions that the client voiced in the design and development phases.
- Make sure you are familiar with the eLearning delivery platform. Carefully analyze your delivery platform before developing your storyboard because you need to know the limitations of your platform before including large files or complex interactions.
- Place information in the appropriate places on the slides so that learners don’t get bored or overloaded. Include audio and visual transitions for effective information flow.
Essential Tools for Formulating an eLearning Storyboard
Creating an eLearning storyboard requires a combination of tools that cater to various aspects of the design process, from ideation to detailed planning.
Here are some essential tools that can help you draw up an effective eLearning storyboard:
1. Storyboarding Software:
-
- Articulate Storyline and Adobe Captivate are popular choices for creating interactive eLearning content. They offer templates and tools for detailed storyboarding, including character interactions, quizzes, and simulations.
- Vyond or Plotagon for creating animated storyboards that can add a dynamic element to your eLearning courses.
2. Graphic Design & Image Editing Tools:
-
- Canva and Adobe Spark are user-friendly for creating visuals, including diagrams, charts, and other graphics that can be incorporated into your storyboard.
- Adobe Photoshop or GIMP are more advanced options for custom image editing and creating high-quality visuals.
3. Collaboration & Project Management Tools:
-
- Trello, Asana, or Monday.com can be used for organizing storyboard components, tracking progress, and collaborating with team members.
- Google Workspace (Docs, Sheets, Slides) and Microsoft Office 365 (Word, Excel, PowerPoint) offer cloud-based collaboration that’s essential for sharing and editing storyboards in real-time with team members.
4. Script Writing & Text Editing Tools:
-
- Final Draft and Celtx are industry-standard script writing tools that can help in drafting audio scripts and dialogue for your eLearning course.
- Grammarly or Hemingway App for editing and proofreading text content to ensure clarity and readability.
5. Mind Mapping & Flowchart Tools:
-
- MindMeister and Lucidchart are excellent for brainstorming ideas, planning content flow, and visually organizing the structure of your eLearning course before detailing it in a storyboard.
6. Audio & Video Editing Software:
-
- Camtasia and Adobe Premiere Pro for video editing and incorporating video content into your storyboard.
- Audacity or Adobe Audition for recording and editing audio scripts and voiceovers.
7. Prototyping and Wireframing Tools:
-
- Sketch and Adobe XD offer capabilities for designing interactive prototypes, which can be useful for planning interactive elements and navigation of the eLearning course.
Using a combination of these tools will enable you to create comprehensive and detailed eLearning storyboards. The choice of tools depends on the specific needs of your project, your budget, and your team’s proficiency with the software.
The effectiveness of a storyboard lies in its ability to convey information and emotion, regardless of how detailed or rough the drawings are.
6 Best Free eLearning Storyboard Templates
There are several free storyboard templates available online that cater to different needs, from simple static content storyboards to more complex interactive eLearning scenarios.
Here are some platforms and resources where you can find these templates:
1. Storyboard That
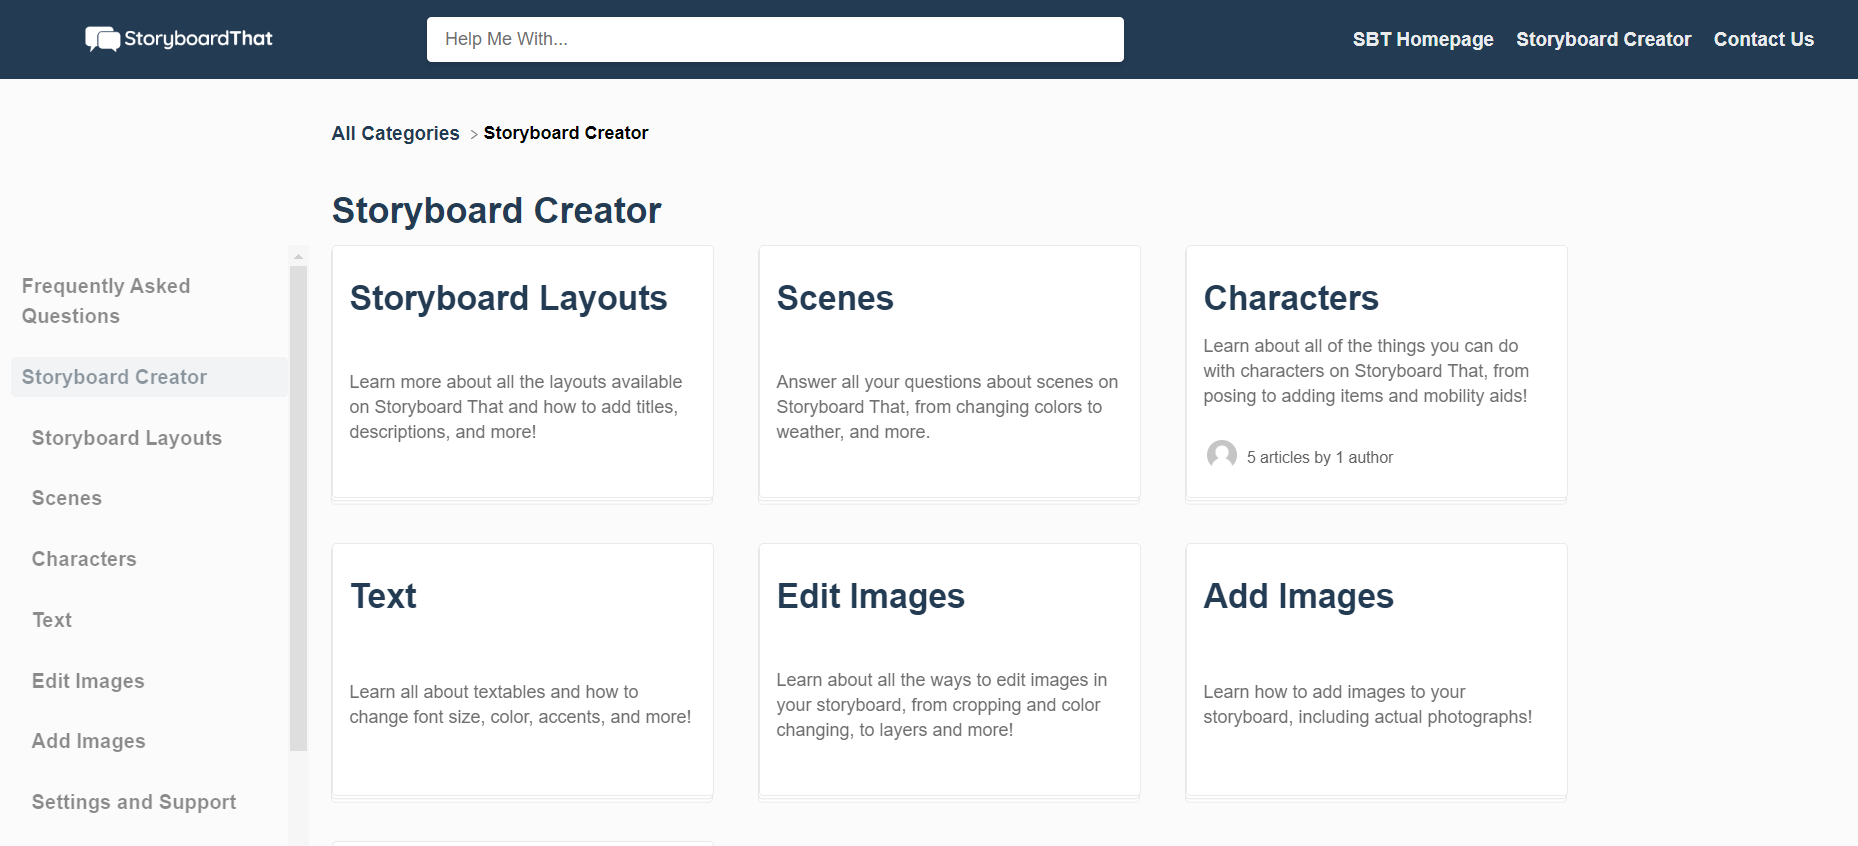
As a freemium tool, Storyboard That offers access to its storyboard creator for free. It’s particularly useful for creating storyboards that are more visually driven, and it’s suitable for educators and students.
2. eLearning Brothers
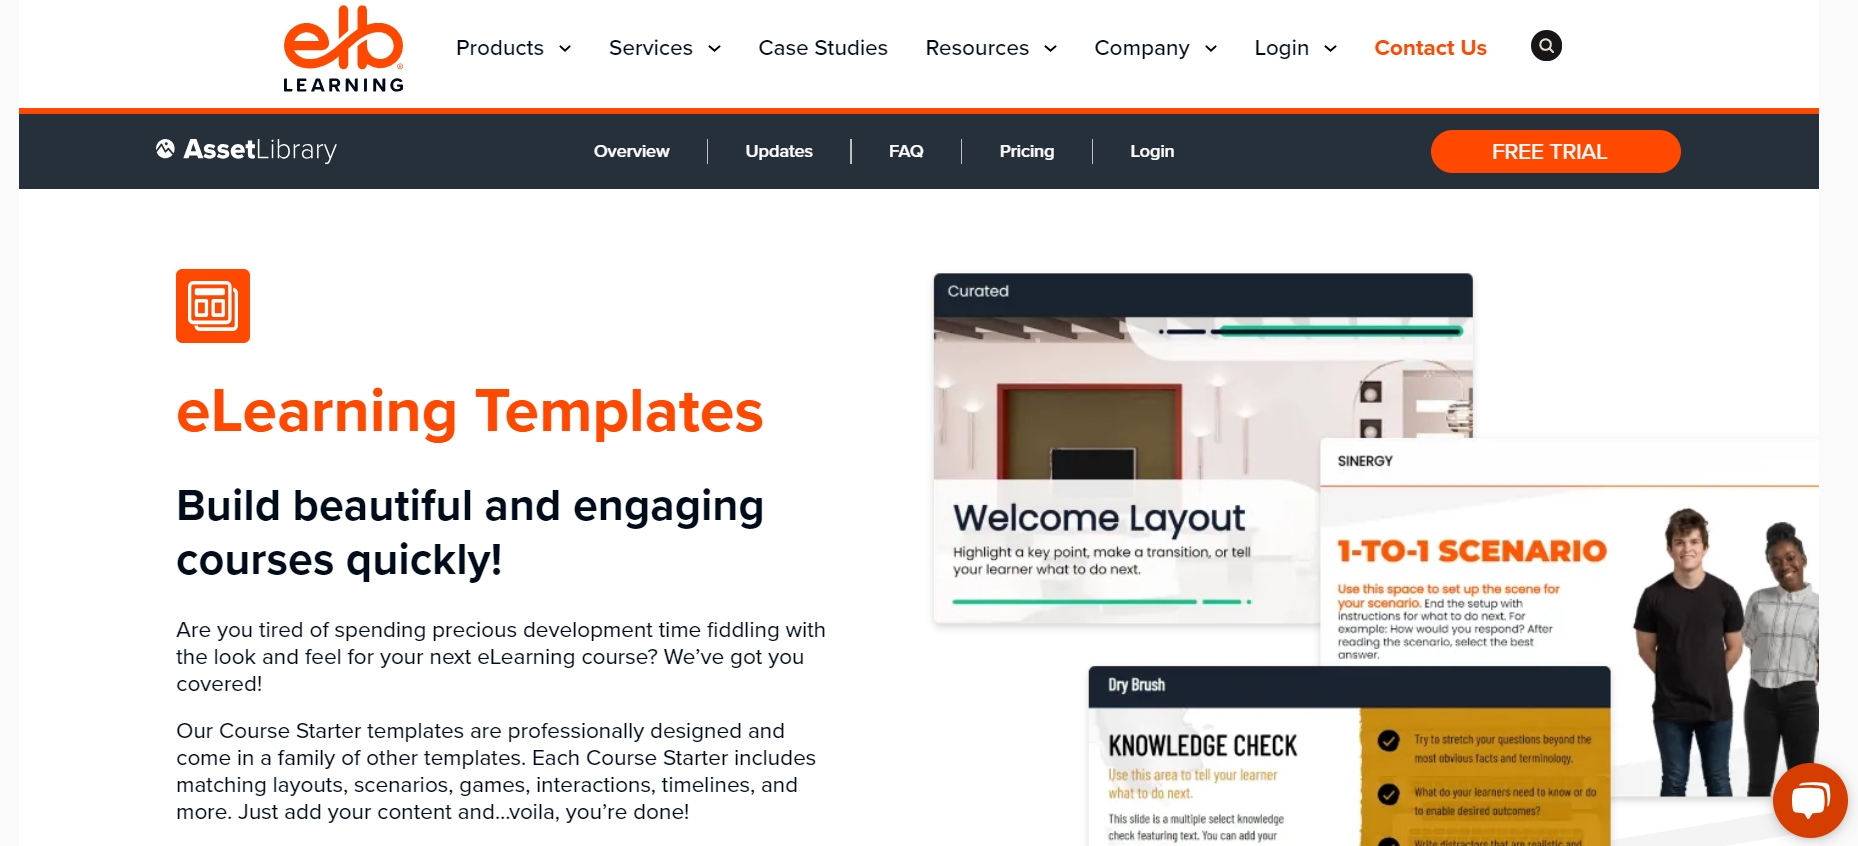
eLearning Brothers offers free storyboard templates that are specifically designed for eLearning projects. Their templates can be a great starting point for instructional designers looking to outline courses and training materials.
3. Microsoft Office Templates
Microsoft Word and PowerPoint offer basic storyboard templates that can be easily adapted for eLearning projects. These templates are straightforward and can be a good choice for those who prefer working within the Microsoft Office ecosystem.
4. Google Docs and Slides

Similar to Microsoft Office, Google Docs and Slides offer free templates that can be used as a starting point for creating your own eLearning storyboards. The collaborative nature of Google Docs and Slides also makes it easier for teams to work together on the storyboard.
5. Boords
Boords offers a free version with limited features, which is suitable for individuals or small projects. It is an online storyboard creator that provides templates and tools for creating and sharing professional storyboards.
6. Template.net
Template.net provides a wide range of free downloadable storyboard templates in various formats like PDF, Word, and PowerPoint. These templates cater to different industries, including film, video, animation, and eLearning.
When choosing a storyboard template, consider the specific needs of your eLearning project, such as the level of detail required, the complexity of interactions, and whether you need to include specific elements like quizzes or interactive scenarios.
Additionally, ensure the template you select aligns with your workflow and the tools you’re comfortable using.
Take the Next Steps in eLearning Storyboards
You now know what an eLearning storyboard looks like, the key elements that go into designing them, and how to create one. You’ve also explored some of the top-rated tools for seamless eLearning storyboarding, along with the templates and an example.
Putting this all together, the road ahead is to bring your storyboard vision to life.
Use a superior eLearning authoring tool to visualize, write scripts, and collaborate with stakeholders. These robust platforms can also help with rapid prototyping, feedback, and revision.
Remember, if you want to develop successful eLearning courses, you need to do some groundwork first, one of which is storyboarding. Follow the best practices discussed above and you can never go wrong.

Let ProProfs AI create your training course
 We'd love your feedback!
What did you like & how can we make it even better?
 Thanks for your feedback!
 Ask Your Question
Have a question? Get expert help to make your decision easier.